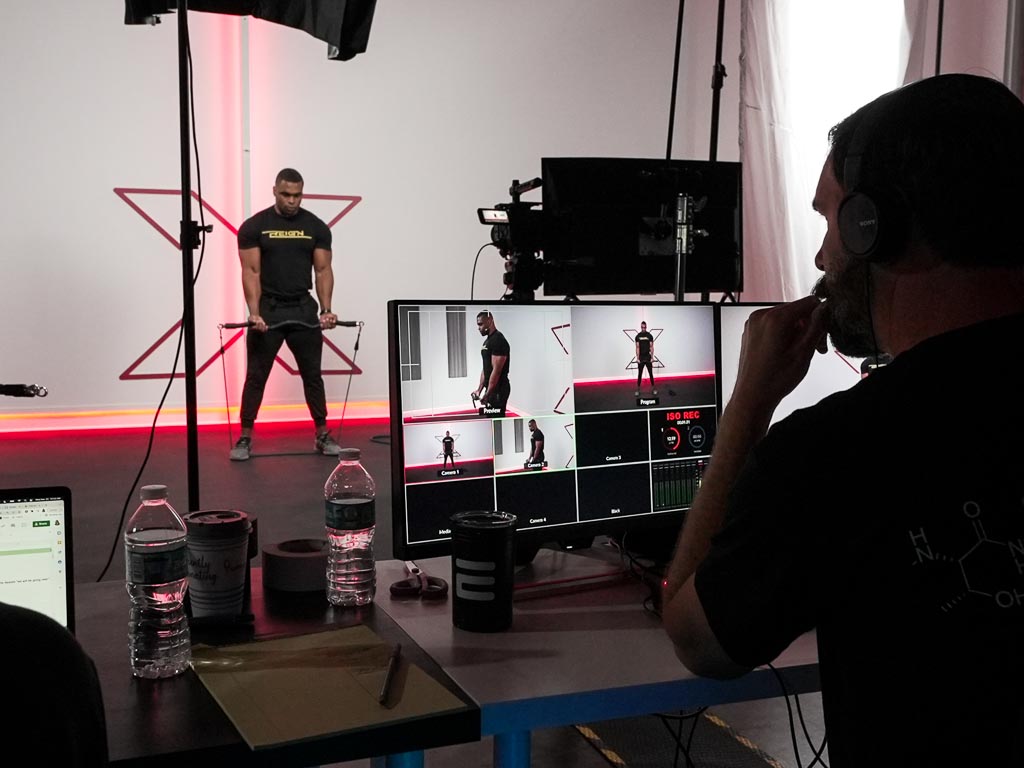
You’re so close to sharing your fitness video with the world! You’ve strategically planned your content and executed a strong performance, earning yourself a successful production day. Now, comes the easy part, right? Maybe not.
Post-production and video editing are equally important to your final product as the next stages of production. This is when your vision actually comes to life, but it can be more studious than you think. Post-production tends to take at least three times the amount of time it takes to shoot a given video, and as with the other stages of production, planning is essential. We’ve come up with some helpful tips to make your post-production efforts more efficient, enabling you to reach your fanbase quicker.
Further Insight on Our Post-Production Tips:
Have a Plan: Smart planning for post-production is imperative to ensure your session goes smoothly. You’ll want to have the outline or visual storyboard to reference, which is usually compiled in the early stages of pre-production (if you’re in need of a storyboard builder for pre- production, check out Canva (https://www.canva.com/) or StoryboardThat (../storyboard- creator.html)). Knowing what clips or scenes will go exactly where in the timeline will speed up the editing process exponentially. By having a specific plan, your editor (or yourself) will be able to follow this map and have clarity about your vision of the end product. Quick Tip: Have a shot-list handy that will tell you where you can find a specific video clip and what it will look like.
Research & Practice: If you’re new to video editing and will be tackling this yourself, get
familiar with your editing program of choice. Two of our faves are Final Cut Pro X and Adobe Premiere! You’ll want to know your basic editing terms, such as cuts vs. jump-cuts, b-roll, continuity, dissolve, and color correction. Before jumping into your edit, be sure you fully understand what your final video is going to feel and look like. Watch other videos for inspiration and review your outlines or storyboards to help you visualize this.
- Raw Production Footage
- Stock Video Footage
- Voice-over Clips
- Music Tracks and Sound Effects
- Graphics and Logos
- Animation Files
- Specific Fonts for Titles
Get these organized and loaded into your editing program so they’re at your fingertips. Adding keywords to all your assets can be beneficial as well.
Go step-by-step: An efficient editor will complete each step or component of a timeline in a cohesive order that allows the process to continue smoothly. For example, the next step an editor may take is laying out all the music, soundbites, and audio elements before moving on to arranging all of the visual elements overtop. Or perhaps an editor will fully complete the remaining 30 seconds of a video before moving onto the next segment. Usually the final steps an editor will take are completing color-correction and audio “sweetening”. Planning to edit one step at a time helps with keeping things organized and moving towards being complete.
Review & Revise: Watch your completed video multiple times before sending it off. Trust me, you’ll want to make numerous tweaks to the clip timing, loudness, coloring, etc. Ask a friend for a review to see if they notice any oddities or have suggestions for change. Once this is complete, the last step is to export the final file in the correct format for your distributor. In the end, you’ll have visually appealing, exciting content to share with your consumers.
We hope this editing outline helps you prepare for your post-production session. We at Endorphinz are here to help! Contact us for more information and our top platform and software recommendations as well as more tips and tricks to help you master the post- production process.


